고정 헤더 영역
상세 컨텐츠
본문
1. Ubuntu에서 vncserver 설치
2. Ubuntud에서 vncserver 실행
3. 윈도우즈에서 vnc client 설치
4. 윈도우즈에서 vnc client 실행
1. Ubuntu에서 vncserver 설치
| sudo apt-get install tigervnc-standalone-server tigervnc-xorg-extension |
starseed@ubuntu18-04:~$ sudo apt-get install tigervnc-standalone-server tigervnc-xorg-extension
[sudo] password for starseed:
Sorry, try again.
[sudo] password for starseed:
Reading package lists... Done
Building dependency tree
Reading state information... Done
The following packages were automatically installed and are no longer required:
  amd64-microcode intel-microcode iucode-tool libxatracker2 libxvmc1 linux-generic-hwe-18.04 linux-headers-generic-hwe-18.04 linux-hwe-5.4-headers-5.4.0-42 linux-hwe-5.4-headers-5.4.0-64
  linux-hwe-5.4-headers-5.4.0-65 linux-hwe-5.4-headers-5.4.0-66 linux-hwe-5.4-headers-5.4.0-67 linux-hwe-5.4-headers-5.4.0-70 linux-hwe-5.4-headers-5.4.0-71 linux-image-generic-hwe-18.04
  thermald
Use 'sudo apt autoremove' to remove them.
The following additional packages will be installed:
  tigervnc-common
The following NEW packages will be installed:
  tigervnc-common tigervnc-standalone-server tigervnc-xorg-extension
0 upgraded, 3 newly installed, 0 to remove and 6 not upgraded.
Need to get 1,253 kB of archives.
After this operation, 3,517 kB of additional disk space will be used.
Do you want to continue? [Y/n] Y
Get:1 http://kr.archive.ubuntu.com/ubuntu bionic/universe amd64 tigervnc-common amd64 1.7.0+dfsg-8ubuntu2 [63.3 kB]
Get:2 http://kr.archive.ubuntu.com/ubuntu bionic/universe amd64 tigervnc-standalone-server amd64 1.7.0+dfsg-8ubuntu2 [996 kB]
Get:3 http://kr.archive.ubuntu.com/ubuntu bionic/universe amd64 tigervnc-xorg-extension amd64 1.7.0+dfsg-8ubuntu2 [194 kB]
Fetched 1,253 kB in 3s (453 kB/s)
Selecting previously unselected package tigervnc-common.
(Reading database ... 350217 files and directories currently installed.)
Preparing to unpack .../tigervnc-common_1.7.0+dfsg-8ubuntu2_amd64.deb ...
Unpacking tigervnc-common (1.7.0+dfsg-8ubuntu2) ...
Selecting previously unselected package tigervnc-standalone-server.
Preparing to unpack .../tigervnc-standalone-server_1.7.0+dfsg-8ubuntu2_amd64.deb ...
Unpacking tigervnc-standalone-server (1.7.0+dfsg-8ubuntu2) ...
Selecting previously unselected package tigervnc-xorg-extension.
Preparing to unpack .../tigervnc-xorg-extension_1.7.0+dfsg-8ubuntu2_amd64.deb ...
Unpacking tigervnc-xorg-extension (1.7.0+dfsg-8ubuntu2) ...
Setting up tigervnc-common (1.7.0+dfsg-8ubuntu2) ...
update-alternatives: using /usr/bin/tigervncconfig to provide /usr/bin/vncconfig (vncconfig) in auto mode
update-alternatives: using /usr/bin/tigervncpasswd to provide /usr/bin/vncpasswd (vncpasswd) in auto mode
Setting up tigervnc-xorg-extension (1.7.0+dfsg-8ubuntu2) ...
Setting up tigervnc-standalone-server (1.7.0+dfsg-8ubuntu2) ...
update-alternatives: using /usr/bin/tigervncserver to provide /usr/bin/vncserver (vncserver) in auto mode
update-alternatives: using /usr/bin/Xtigervnc to provide /usr/bin/Xvnc (Xvnc) in auto mode
Processing triggers for man-db (2.8.3-2ubuntu0.1) ...
starseed@ubuntu18-04:~$ vncpasswd
Password:
Verify:
Would you like to enter a view-only password (y/n)? n
2. Ubuntud에서 vncserver 실행
| vncserver -localhost no |
"no"라고 붙이는 이유는 다른 머신에서 접속이 가능하도록 하기 위함입니다.
starseed@ubuntu18-04:~$ vncserver -localhost no
/usr/bin/xauth:  file /home/starseed/.Xauthority does not exist

New 'ubuntu18-04:1 (starseed)' desktop at :1 on machine ubuntu18-04

Starting applications specified in /etc/X11/Xvnc-session
Log file is /home/starseed/.vnc/ubuntu18-04:1.log

Use xtigervncviewer -SecurityTypes VncAuth,TLSVnc -passwd /home/starseed/.vnc/passwd ubuntu18-04:1 to connect to the VNC server.

starseed@ubuntu18-04:~$ vncserver -list

TigerVNC server sessions:

X DISPLAY #     PROCESS ID
:1              14864
vncserver 리스트 확인
| vncserver -list |
starseed@ubuntu18-04:~$ vncserver -list

TigerVNC server sessions:

X DISPLAY #     PROCESS ID
:1              14864
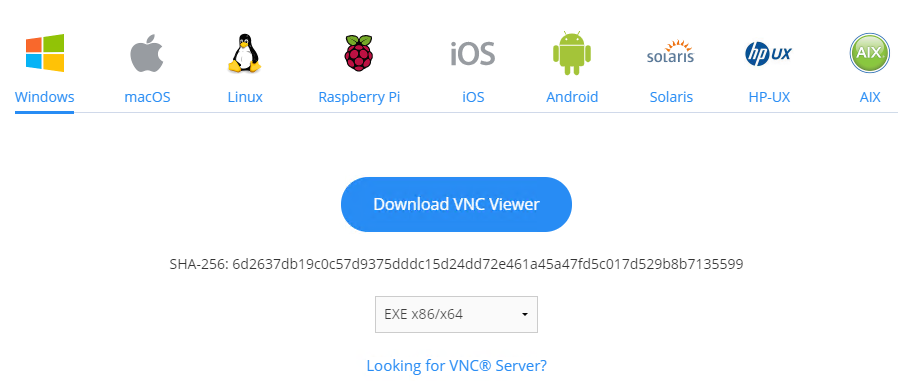
3. 윈도우즈에서 vnc client 설치
https://www.realvnc.com/en/connect/download/viewer/
4. 윈도우즈에서 vnc client 실행
우분투 데스크톱이 설치된 PC IP: 192.168.0.78 (우분투 터미널에서 ifconfig로 확인)
VNC Server가 사용하는 포트: 5901 (vncserver의 X DISPLAY가 :1일 경우) 만약 X DISPLAY가 :2일 경우는 5902번 포트


'Ubuntu' 카테고리의 다른 글
| [Jenkins] Ubuntu 20.04에서 젠킨스 포트 설정 (0) | 2021.08.20 |
|---|---|
| [Jenkins] Ubuntu 20.04에서 젠킨스 인스톨 (0) | 2021.08.20 |
| [Ubuntu] 고정 IP 설정 (0) | 2021.08.03 |
| [ubuntu] 디렉토리 구조 (0) | 2021.06.23 |
| [ubuntu]nano 에디터 (선택&복사&붙여넣기) (0) | 2021.06.22 |


댓글 영역